
Monday, June 20, 2016
Grass!
The last two months have been really busy between traveling to California for my brothers wedding and work. It will take some time before I can post any regular updates since I have a lot of pictures and video to sort through. in the mean time here is a work in progress gif of a grassy scene I started working on.


Wednesday, April 27, 2016
Dark Souls x Limbo
I have been playing a lot of Dark Souls and last night I decided to make a Dark Souls inspired environment in a Limbo art style using Unreal Engine 4.


Tuesday, April 19, 2016


Tuesday, March 8, 2016
Process Gif 3
As progress continues on my environment, based on the San Juan Bautista Mission down in California, I am at the point where I need to start thinking about the exterior. With this in mind I decided to do another look and feel speed painting for the area outside of the Mission.
With this painting I started with a quick sketch before blocking in some value. with the value blocked in I decided to try a new process.
I copied and pasted 3 layers of the painting and color corrected them to be Red Blue and Green. then using a layer mask I blended the layers together.
Once that was finished I went through some of the Photoshop filters( mainly Cutout and Palette Knife) to simplify the color and remove some of the sketchy marks.
Finally I added a layer on top and painted over any rough areas and added a few corrections to the color.
I found this method helpful for creating quick color scripts and speedpaintings. It is a great way to quickly take a sketch through to value and color, but this process requires more work to create what I would consider a "finished" painting.


With this painting I started with a quick sketch before blocking in some value. with the value blocked in I decided to try a new process.
I copied and pasted 3 layers of the painting and color corrected them to be Red Blue and Green. then using a layer mask I blended the layers together.
Once that was finished I went through some of the Photoshop filters( mainly Cutout and Palette Knife) to simplify the color and remove some of the sketchy marks.
Finally I added a layer on top and painted over any rough areas and added a few corrections to the color.
I found this method helpful for creating quick color scripts and speedpaintings. It is a great way to quickly take a sketch through to value and color, but this process requires more work to create what I would consider a "finished" painting.


Progress Update on the environment I have been creating in Unreal Engine 4.

I started by roughing out the interior starting with basic primitives to block out the scene and get the proportions right. Getting the proportion of the environment working was by far the hardest part of this process. On the one hand accidentally making the tiniest model slightly off scale could make the whole environment look wrong. On the other hand make a small object too small and the viewer will never see it. Some of the things I had to make exaggerate the scale of include the crosses and the width of some of the ledges.
 After I was mostly satisfied with the general scale and proportions of the environment I did a paint over to get the look and feel starting with rough color then adding texture. A more in depth look at my process can be found here
I then took and started blocking out the textures, starting with a quick tiling floor texture, and moving on to the arches. At this stage the textures are still lacking a lot of the painted details that you can see in the look and feel painting I did
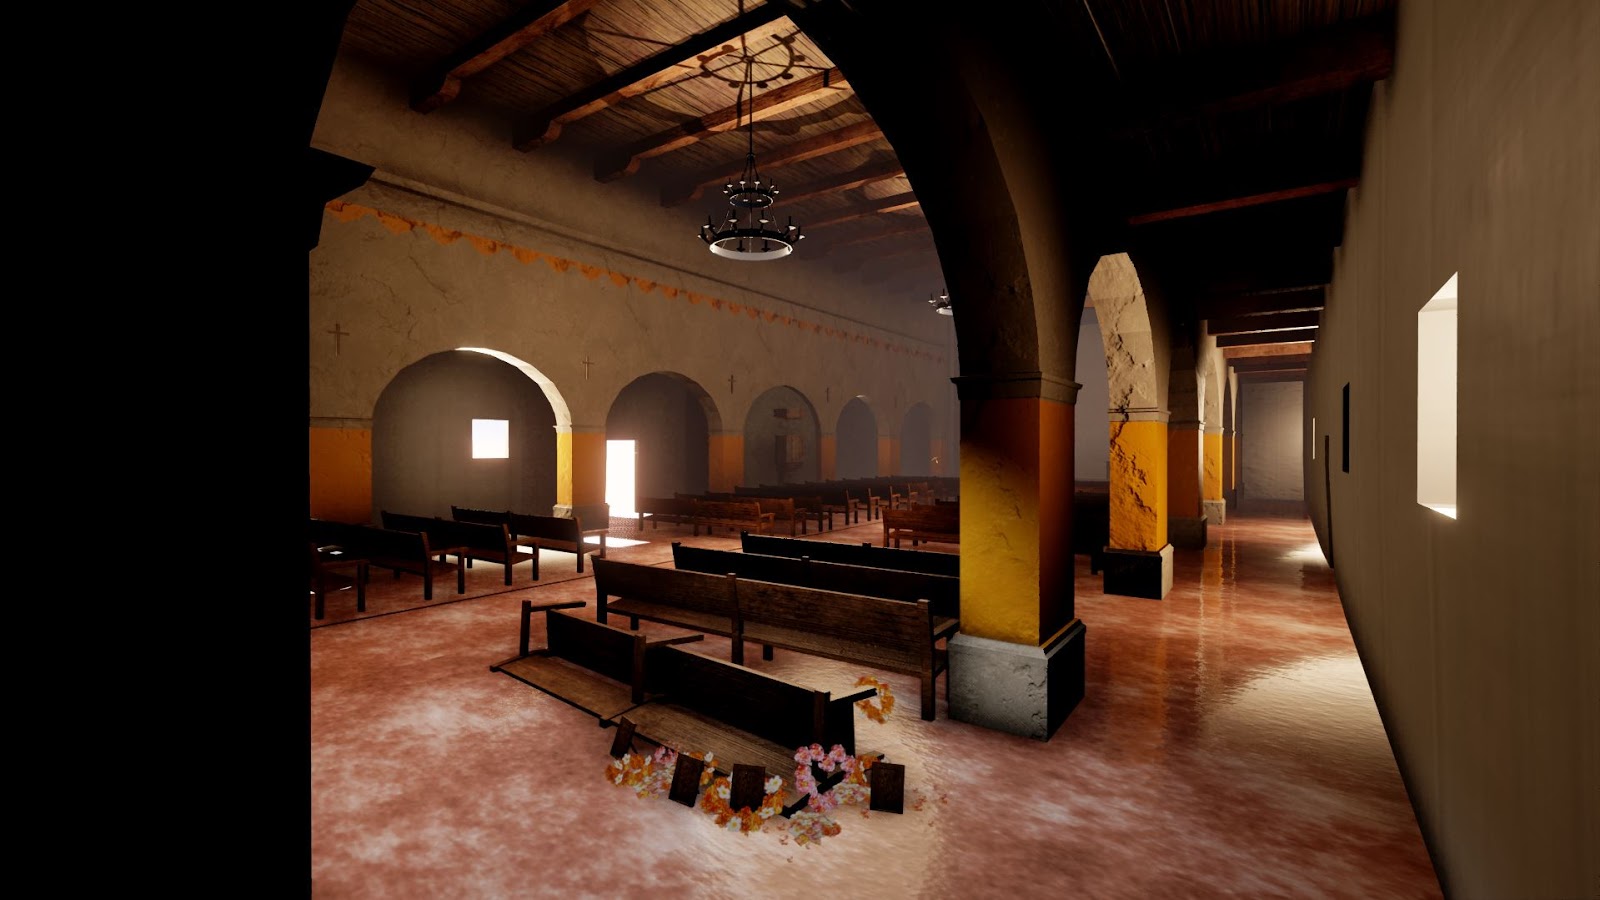 With the rough textures in place I started work on the lighting. I starting with atmospheric fog and a directional light then worked on the lightest and darkest areas of the scene before adding the "Hero" lighting to accent important parts of the scene
With a first pass on lighting in place I am now going through and removing low poly models and replacing a number of the placeholder textures starting with the floor. Below are some screenshots of the current state of the environment
I will write a more detailed post on my workflow for creating textures sometime soon


Monday, February 1, 2016
Process Gif 2
I am modeling an environment based on the San Juan Bautista Mission down in California and I decided to do a quick look and feel painting. I started by quickly blocking out the environment in maya and adding some spot lights. I then blocked in some rough color, went through my reference folder, and did some Photo bashing to get texture reference. lastly I added a layer on top and did a final paint over simplifying the texture and color and cleaning things up a bit.


Wednesday, January 20, 2016
Process Gif 1
I am trying to get better at document my process as I experiment with different tools and ways of working in Photoshop. to help with this I have decided to start doing gifs that step through the painting from start to finish. I have only created a few gifs so far but I am already learning a lot about my process and ways to streamline my workflow.
In this painting I started with a quick sketch and then blocked in the foreground, middle ground, and background on separate layers. once I had the separate layers blocked out I went back and forth between them adding texture and detail.

In this painting I started with a quick sketch and then blocked in the foreground, middle ground, and background on separate layers. once I had the separate layers blocked out I went back and forth between them adding texture and detail.
Subscribe to:
Posts (Atom)